How To Use a PostgreSQL Database in a Inspira Application
In this tutorial, we will learn how to use PostgreSQL database in a Inspira Application.
Getting Started
Let's get started! Follow these steps to install Inspira and set up the project directories:
$ mkdir inspira_postgres
$ cd inspira_postgres
$ python -m venv .venv
$ source .venv/bin/activate
$ pip install inspira psycopg2
$ inspira init
$ inspira new database --name mydb --type postgres
File Generation
Execute the following commands to generate controller, repository, model, and service files:
$ inspira new controller user
$ inspira new repository user
$ inspira new service user
$ inspira new model user
Create PostgresSQL database
Setting up a PostgreSQL database is simple. Follow these steps to get started:
Install PostgreSQL on your computer.
Open your terminal and run the following command to access PostgreSQL and create a new database called mydb:
$ psql
# create database mydb;
CREATE DATABASE
# \q
These steps will set up a PostgreSQL database named mydb for your use.
Config
Create a file named config.py in the root of your project and include the following content:
import os

from inspira.config import Config

config = Config()

config['SQLALCHEMY_DATABASE_URI'] = os.environ['DATABASE_URL']
This config.py file is where you can define and store configuration settings for your project.
Now we are going to add a environment variable. Run the following command in your terminal:
$ export DATABASE_URL="postgresql:///mydb"
Open the database.py file and update its content to match the following configuration.
Ensure to include the necessary database configuration and connection code in the file.
from sqlalchemy import create_engine
from sqlalchemy.orm import declarative_base, scoped_session, sessionmaker
from sqlalchemy_utils import database_exists, create_database

from config import config

engine = create_engine(config['SQLALCHEMY_DATABASE_URI'])

if not database_exists(engine.url):
    create_database(engine.url)

db_session = scoped_session(
    sessionmaker(autocommit=False, autoflush=False, bind=engine)
)
Base = declarative_base()
Base.query = db_session.query_property()
User Model
Open the user.py file and modify its contents to resemble the following configuration.
class User(Base):
    __tablename__ = "users"
    id = Column(Integer, primary_key=True)
    name = Column(String(50), nullable=True)
    email = Column(String(120), unique=True, nullable=True)

    def __init__(self, name: str, email: str):
        self.name = name
        self.email = email

    def __repr__(self):
        """
        Define a string representation for the User model.
        """
        return f"<User(id={self.id}, name={self.name}, email={self.email}>"
UserRepository
Update the user_repository.py file by incorporating the create_user module.
Ensure to include the necessary logic for creating a new user in this module.
from database import db_session
from sqlalchemy.exc import SQLAlchemyError
from src.users.user import User


class UserRepository:

    def get_all_user(self):
        return db_session.query(User).all()

    def get_user_by_id(self, id: int):
        return db_session.query(User).filter_by(id=id).first()

    def create_user(self, user: User):
        try:
            db_session.add(user)
            db_session.commit()
            return True
        except SQLAlchemyError as e:
            db_session.rollback()
            print(f"Error creating user: {e}")
            return False
UserService
Open the user_service.py file and update it with the following code.
This modification introduces a UserService class that interacts with the UserRepository.
It includes methods to retrieve all users and create a new user with the specified name and email.
from src.users.user_repository import UserRepository

from src.users.user import User


class UserService:
    def __init__(self, user_repository: UserRepository):
        self._user_repository = user_repository

    def get_all_user(self):
        return self._user_repository.get_all_user()

    def create_user(self, name: str, email: str):
        new_user = User(name, email)

        return self._user_repository.create_user(new_user)
In the updated code, a create_user method is introduced in the UserService class.
This method simplifies user creation by taking name and email parameters, creating a new User instance, and delegating the creation process to the UserRepository.
The method returns a boolean to indicate the success of the user creation, enhancing the UserService with a more streamlined user creation process and maintaining a clear separation of concerns.
UserController
In the user_controller.py file, there's a new class called UserController.
This class deals with tasks related to users.
The get_users method gets all users and shows them on a page.
The render_form method makes a new user form visible, and the create_user method deals with creating a user.
from inspira.decorators.http_methods import get, post
from inspira.decorators.path import path
from inspira.responses import TemplateResponse, HttpResponseRedirect
from inspira.requests import Request

from src.users.user_service import UserService


@path("/users")
class UserController:

    def __init__(self, user_service: UserService):
        self._user_service = user_service

    @get()
    async def get_users(self, request: Request):
        users = self._user_service.get_all_user()
        context = {
            "users": users
        }

        return TemplateResponse("users.html", context)

    @get("/create")
    async def render_form(self, request: Request):
        return TemplateResponse("create_user_form.html")

    @post("/create")
    async def create_user(self, request: Request):
        body = await request.form()
        name = body['name']
        email = body['email']

        success = self._user_service.create_user(name, email)

        if success:
            return HttpResponseRedirect("/users")
        else:
            return HttpResponseRedirect("/create", status_code=400)
Creating the Templates Folder
In the main project directory, make a new folder called templates next to the main.py file.
Use the following commands to create this folder and two files inside it:
$ mkdir templates
$ touch templates/users.html
$ touch templates/create_user_form.html
After that, open the users.html file and add the provided content.
<!DOCTYPE html>
<html lang="en">
<head>
    <meta charset="UTF-8">
    <title>Users</title>
</head>
<body>

<a href="/users/create"><h2>Add new User</h2></a>

<table>
    <thead>
    <tr>
        <th scope="col">#</th>
        <th scope="col">Name</th>
        <th scope="col">Email</th>
    </tr>
    </thead>
    <tbody>
    {% for user in users %}
    <tr>
        <th scope="row">{{ user.id }}</th>
        <td>{{ user.name }}</td>
        <td>{{ user.email }}</td>
    </tr>
    {% endfor %}
    </tbody>
</table>

</body>
</html>
Additionally, add the following content to the create_user_form.html file:
<!DOCTYPE html>
<html lang="en">
<head>
    <title>Create User</title>
    <meta http-equiv="Content-Type" content="text/html; charset=UTF-8" />
</head>
<body>
    <h1>Create User</h1>
    <form action="" method="post">
        <p>Name: <input type="text" name="name" required/></p>
        <p>Email: <input type="email" name="email" required/></p>
        <p><input type="submit" value="Submit"/></p>
    </form>
</body>
</html>
Migrations
To initiate the creation of the user table, execute the following command to generate a migration file:
$ inspira new migration create_table_users
This command will create the migration file in the migrations folder.
Open the file and make the necessary modifications as shown below:
CREATE TABLE users (
    id SERIAL NOT NULL,
    name VARCHAR(50),
    email VARCHAR(120),
    PRIMARY KEY (id),
    UNIQUE (email)
);
Now run the following command to apply the migration:
$ inspira migrate
Launching the Server
Initiate the server with the following command:
$ uvicorn main:app --reload
To interact with the form, go to http://localhost:8000/users/create in your browser.
Provide the required details and submit the form for results.
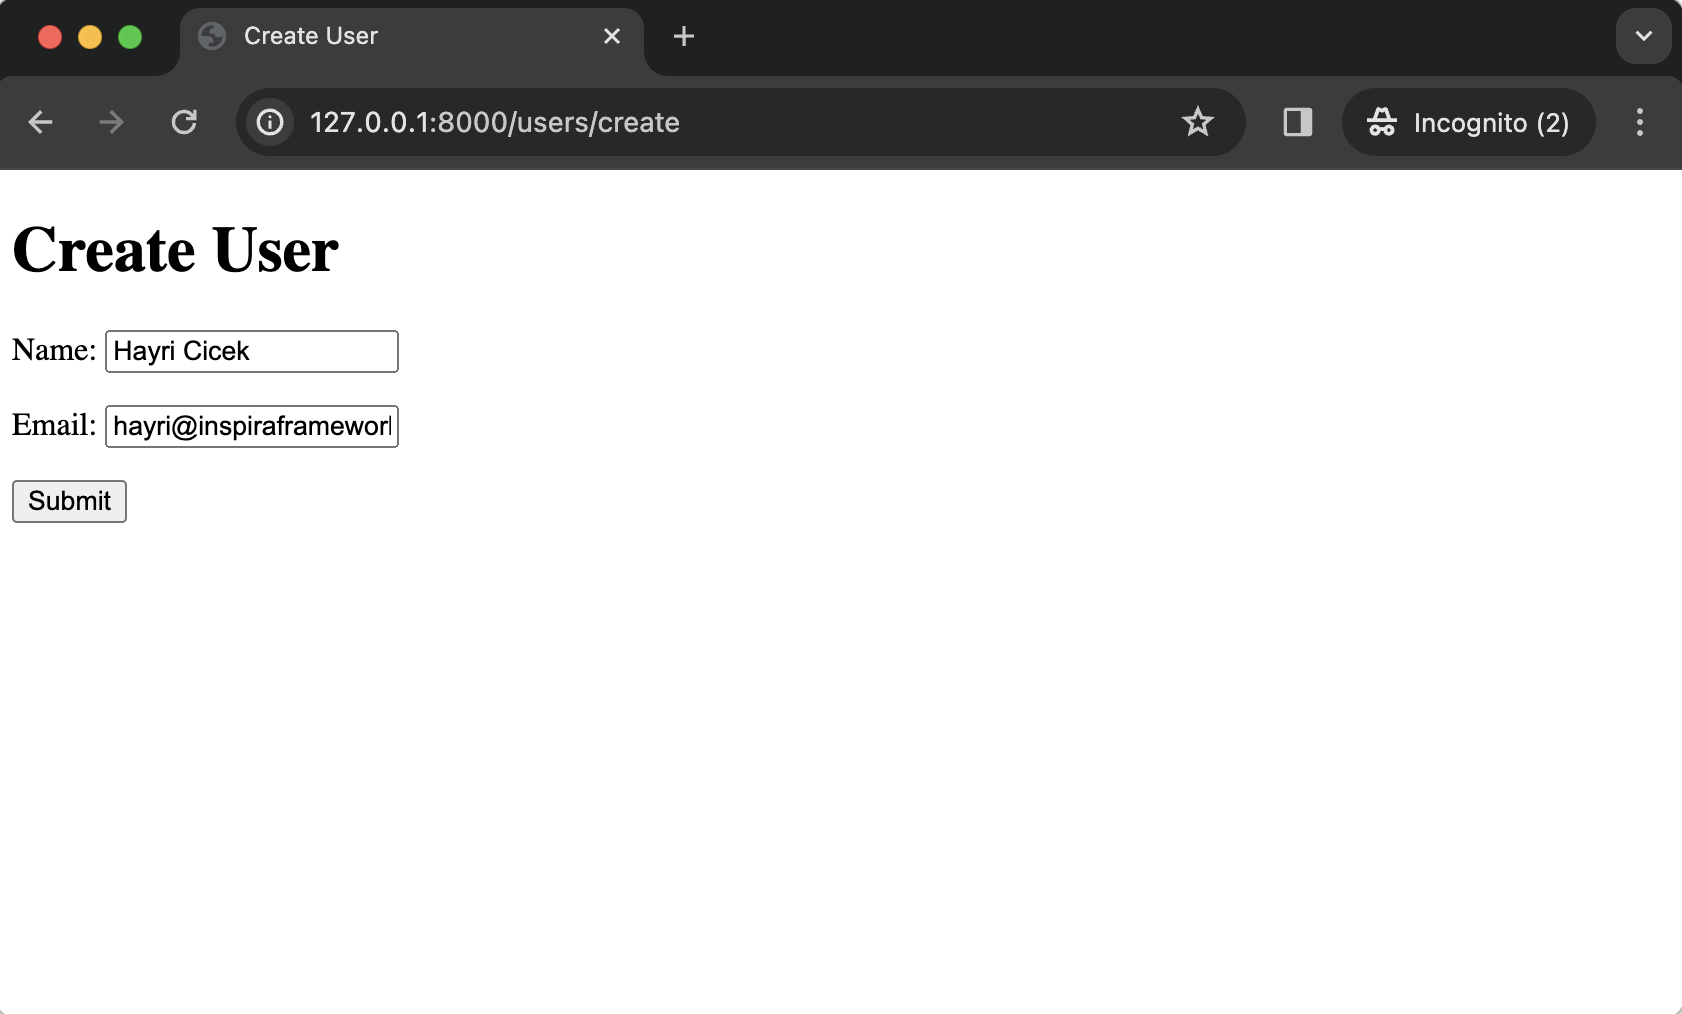
Enter a name and email to see the results:
Summary
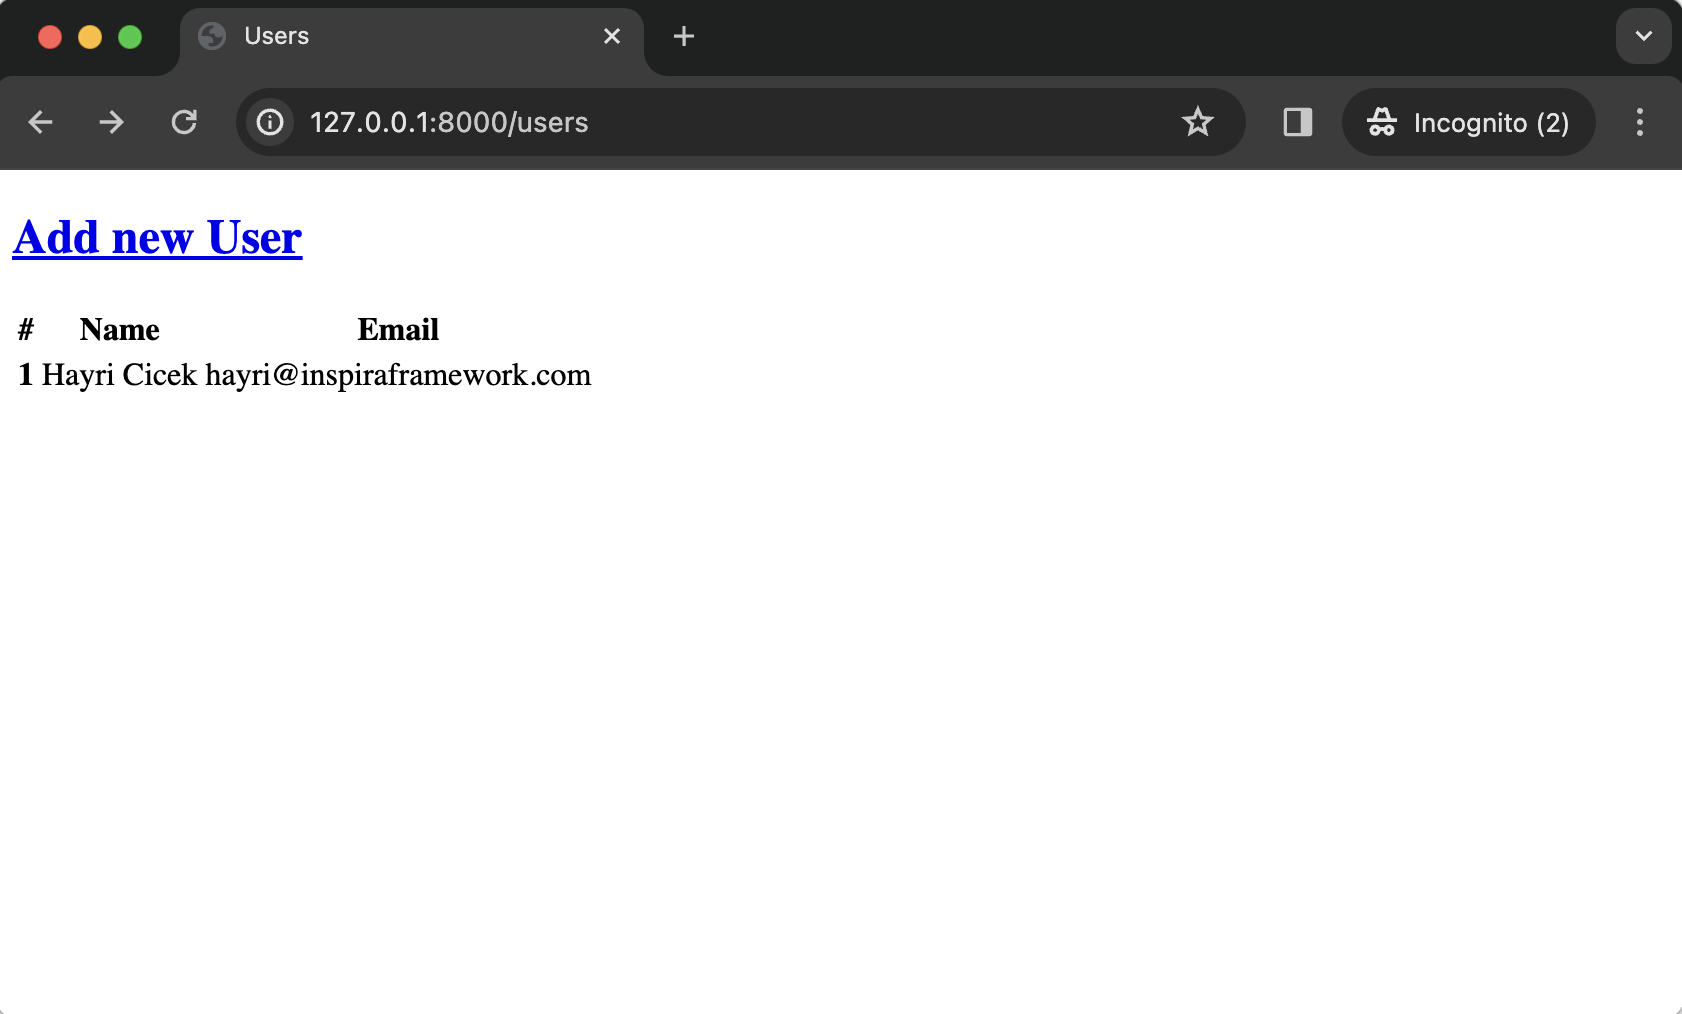
Congratulations! You've successfully used Inspira to integrate PostgreSQL, create a form, and submit data.
The code is available on GitHub
Happy coding!