Inspira Login, Logout and Signup
In this step-by-step guide, you'll discover how to sign up users, login, and logout using Inspira.
Getting Started
Let's get started! Follow these steps to install Inspira and set up the project directories:
$ mkdir inspira-login-logout
$ cd inspira-login-logout
$ python -m venv .venv
$ source .venv/bin/activate
$ pip install inspira
$ inspira init
$ inspira new database --name auth --type sqlite
File Generation
Execute the following commands to generate controller, repository, model, and service files:
$ inspira new controller account
$ inspira new repository user
$ inspira new service user
$ inspira new model user
Adding Middlewares
To implement the desired functionality, follow these steps:
Open the main.pyfile.
Insert the following middlewares:
from inspira import Inspira
from inspira.middlewares.sessions import SessionMiddleware
from inspira.middlewares.user_loader import UserLoaderMiddleware

from src.model.user import User

app = Inspira(secret_key="_poWP-xCZXp9K40uwJ3A4u8669t7V_b8fxRfEm-vxgitP6q-Ag")

user_loader_middleware = UserLoaderMiddleware(user_model=User)
app.add_middleware(user_loader_middleware)

session = SessionMiddleware()
app.add_middleware(session)
UserLoaderMiddleware:
This middleware is responsible for loading user information from the database.
SessionMiddleware:
This middleware is used for managing user sessions.
It helps in storing session data securely and maintaining session state across multiple requests from the same client.
Model
Open the user.py model file and implement the following modifications:
from inspira.auth.mixins.user_mixin import UserMixin
from sqlalchemy import Column, Integer, String
from database import Base


class User(Base, UserMixin):
    __tablename__ = "users"
    id = Column(Integer, primary_key=True)
    name = Column(String(255), nullable=False)
    email = Column(String(255), unique=True, nullable=False)
    password = Column(String(255), nullable=False)
Repository
Open the user_repository.py file and make the following changes:
from inspira.logging import log
from sqlalchemy.exc import SQLAlchemyError

from database import db_session
from src.model.user import User


class UserRepository:

    def get_user_by_email(self, email: str) -> User:
        return db_session.query(User).filter_by(email=email).first()

    def create_user(self, user: User) -> bool:
        try:
            db_session.add(user)
            db_session.commit()
            return True
        except SQLAlchemyError as e:
            db_session.rollback()
            log.error(f"Error creating user: {e}")
            return False
get_user_by_email(self, email: str):
Retrieves a specific User from the database based on the provided email.
create_user(self, user: User): Creates a new User in the database.
This class encapsulates the database operations related to User items, providing a convenient and organized way to interact with the underlying data store.
Service
Afterward, open the user_service.py file and add the following:
from src.model.user import User
from src.repository.user_repository import UserRepository


class UserService:
    def __init__(self, user_repository: UserRepository):
        self._user_repository = user_repository

    def get_user_by_email(self, email: str) -> User:
        return self._user_repository.get_user_by_email(email)

    def create_user(self, name: str, email: str, password: str) -> bool:
        new_user = User()
        new_user.name = name
        new_user.email = email
        new_user.set_password(password)

        return self._user_repository.create_user(new_user)
The UserService class provides a high-level interface for managing User-related operations.
It utilizes UserRepository instance to interact with the underlying database. The class includes the following methods:
get_user_by_email(self, email: str): -> User: Retrieves a user object associated with the provided email address.
create_user(self, name: str, email: str, password: str) -> bool: Creates a new User item with the specified name, email and password, and delegates the storage operation to the UserRepository.
In essence, the UserService acts as an intermediary between the application logic and the database, offering a simplified and coherent interface for handling User-related functionalities.
Controller
To proceed, open the account_controller.py file and insert the following:
from inspira.auth.auth_utils import logout_user, login_user
from inspira.decorators.http_methods import get, post
from inspira.decorators.path import path
from inspira.responses import TemplateResponse, HttpResponseRedirect
from inspira.requests import Request

from src.service.user_service import UserService


@path("/accounts")
class AccountController:

    def __init__(self, user_service: UserService):
        self._user_service = user_service

    @get("/login")
    async def login_form(self, request: Request):
        return TemplateResponse("accounts/login.html")

    @post("/login")
    async def login(self, request: Request):
        body = await request.form()
        email = body['email']
        password = body['password']

        user = self._user_service.get_user_by_email(email)

        if user and user.check_password_hash(password):
            login_user(user_id=user.id)
            return HttpResponseRedirect("/")
        else:
            context = {
                "error": "Something went wrong"
            }
            return TemplateResponse("accounts/login.html", context)

    @get("/signup")
    async def signup_form(self, request: Request):
        return TemplateResponse("accounts/signup.html")

    @post("/signup")
    async def signup(self, request: Request):
        body = await request.form()
        name = body['name']
        email = body['email']
        password = body['password']
        user = self._user_service.get_user_by_email(email)

        if not user:
            success = self._user_service.create_user(name, email, password)

            if success:
                return HttpResponseRedirect("/accounts/login")
            else:
                context = {"message": "Failed to register user"}
        else:
            context = {"message": "User already exists."}

        return TemplateResponse("accounts/signup.html",  context)


    @get("/logout")
    async def logout(self, request: Request):
        logout_user()
        return HttpResponseRedirect("/")
The AccountController class is a web controller responsible for handling HTTP requests related to Account operations.
It is decorated with the @path("/accounts") attribute, indicating the base path for its endpoints.
The controller takes a UserService instance during initialization.
login_form(self, request: Request): Handles HTTP GET requests to render the login form.
login(self, request: Request): Manages HTTP POST requests for login a new User. It extracts the email and password from the request.
signup_form(self, request: Request) Handles HTTP GET requests to render the signup form.
signup(self, request: Request): Handles HTTP POST requests to create a new User.
logout(self, request: Request) Logouts the user.
In summary, the AccountController orchestrates the interaction between the web interface and the application logic provided by the UserService, ensuring seamless handling of User-related actions through specified HTTP methods.
Creating the Templates Folder
Go to the main folder of your project.
Inside it, make a new folder called templates.
This folder should be next to the main.py file.
Inside the templates folder, create another folder named accounts.
Inside the accounts folder, make two files: login.html and signup.html.
Also, inside the templates folder, create two more files: base.html and home.html.
You can use the commands below to do this:
$ mkdir templates
$ mkdir templates/accounts
$ touch templates/base.html
$ touch templates/home.html
$ touch templates/accounts/login.html
$ touch templates/accounts/signup.html
Now, insert the provided content into the base.html file:
<!DOCTYPE html>
<html>

<head>
    <meta charset="utf-8">
    <title>{% block title %}Inspira Auth Tutorial{% endblock %}</title>
    <link href="https://cdn.jsdelivr.net/npm/bootstrap@5.3.0/dist/css/bootstrap.min.css" rel="stylesheet"
          integrity="sha384-9ndCyUaIbzAi2FUVXJi0CjmCapSmO7SnpJef0486qhLnuZ2cdeRhO02iuK6FUUVM" crossorigin="anonymous">

</head>

<body >
<div class="container mt-5">
    {% block content %}
    {% endblock %}
</div>
</body>

</html>
Now add the following to home.html:
{% extends "base.html" %}

{% block title %}Home{% endblock %}

{% block content %}

{% if request.user.is_authenticated %}

Hi {{ request.user.name }}!

<div class="mt-5">
<a href="/accounts/logout">Logout</a>
</div>

{% else %}

<p>You are not logged in</p>
<a href="/accounts/login">Log In</a>
<a href="/accounts/signup">Sign Up</a>
{% endif %}
{% endblock %}
Now open login.html and add the following:
{% extends "base.html" %}

{% block content %}
<h2>Log In</h2>

<form method="post" action="/accounts/login">
    {{ error }}
    <div class="mb-3">
        <label for="emailInput" class="form-label">Email address</label>
        <input type="email" name="email" class="form-control" id="emailInput" required>
    </div>

    <div class="mb-3">
        <label for="passwordInput" class="form-label">Password</label>
        <input type="password" name="password" class="form-control" id="passwordInput" required>
    </div>
    <button type="submit" class="btn btn-success">Log In</button>
</form>

{% endblock %}
And now open signup.html and add the following:
{% extends "base.html" %}


{% block content %}

<h2>Register</h2>
<form method="post" action="/accounts/signup">
    {% if message %}
    {{ message }}
    {% endif %}
    <div class="mb-3">
        <label for="nameInput" class="form-label">Name</label>
        <input type="text" name="name" class="form-control" id="nameInput" required>
    </div>

    <div class="mb-3">
        <label for="emailInput" class="form-label">Email address</label>
        <input type="email" name="email" class="form-control" id="emailInput" required placeholder="name@example.com">
    </div>

    <div class="mb-3">
        <label for="passwordInput" class="form-label">Password</label>
        <input type="password" name="password" class="form-control" id="passwordInput" required>
    </div>

    <button type="submit" class="btn btn-success">Sign Up</button>
</form>
{% endblock %}
Migrations
Run the following command to create a new migration file
$ inspira new migration create_table_users
Open the migration file and add the following:
CREATE TABLE users (
    id INTEGER NOT NULL,
    name VARCHAR(255) NOT NULL,
    email VARCHAR(255) NOT NULL,
    password VARCHAR(255) NOT NULL,
    PRIMARY KEY (id),
    UNIQUE (email)
);
Now run the following command to apply the migration:
$ inspira migrate
Launching the Server
Initiate the server with the following command:
$ uvicorn main:app --reload
Trying Out the Service
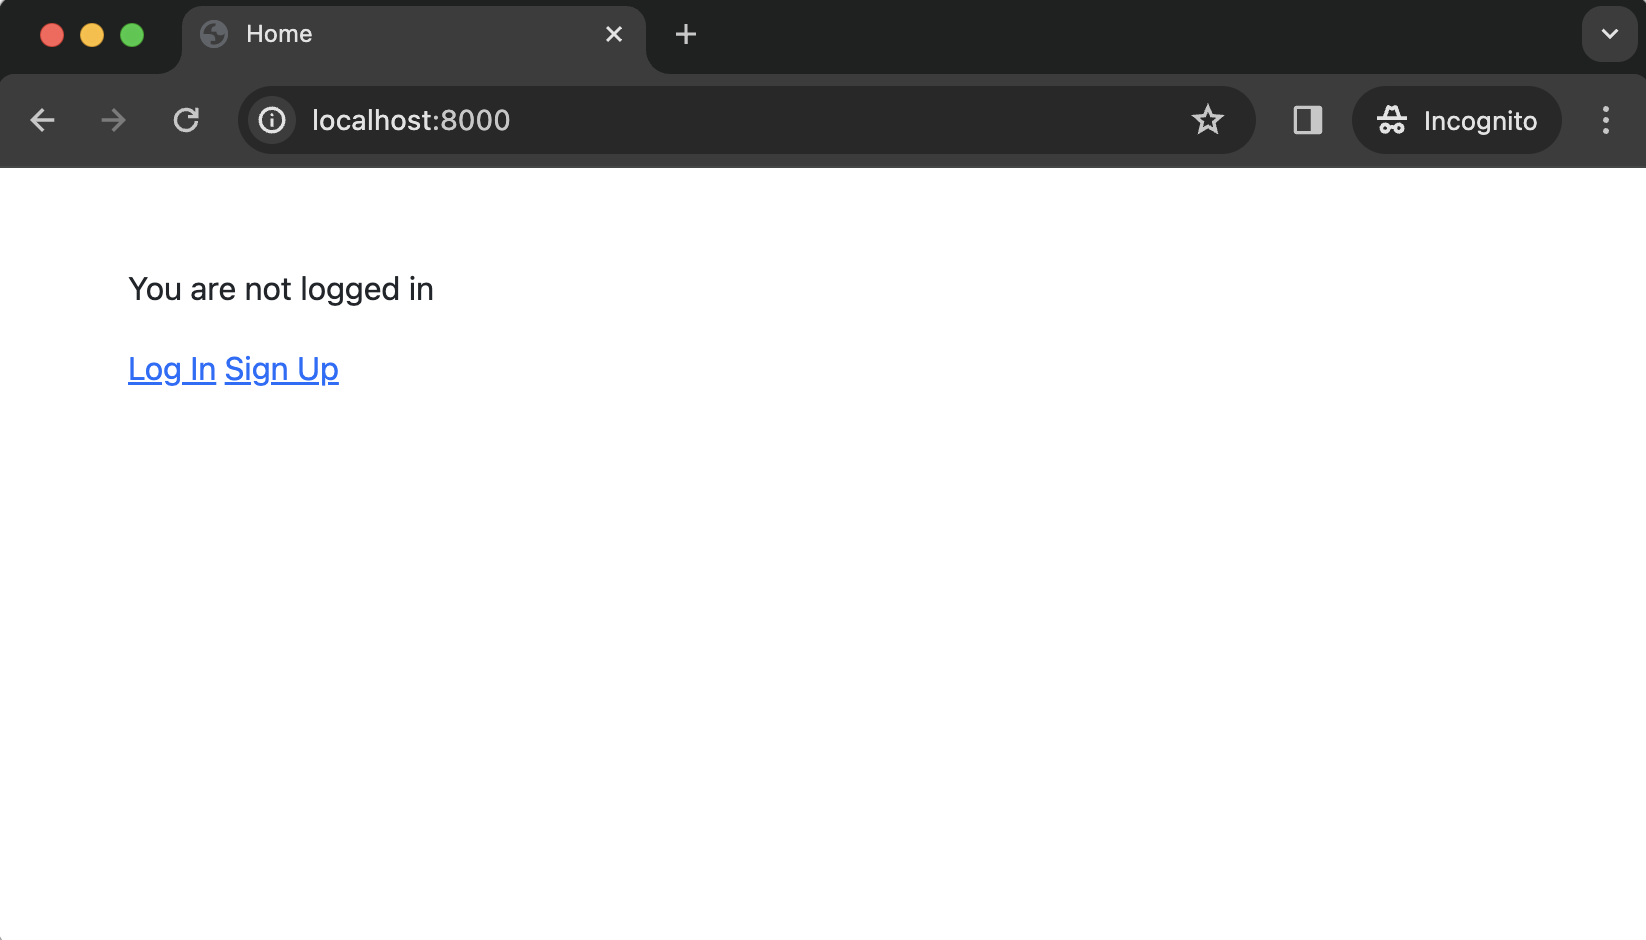
Open your web browser and go to http://localhost:8000.
You'll encounter a message saying You are not logged in along with two links: Log In and Sign Up.
To proceed, you need to sign up first, so click on the Sign Up link.
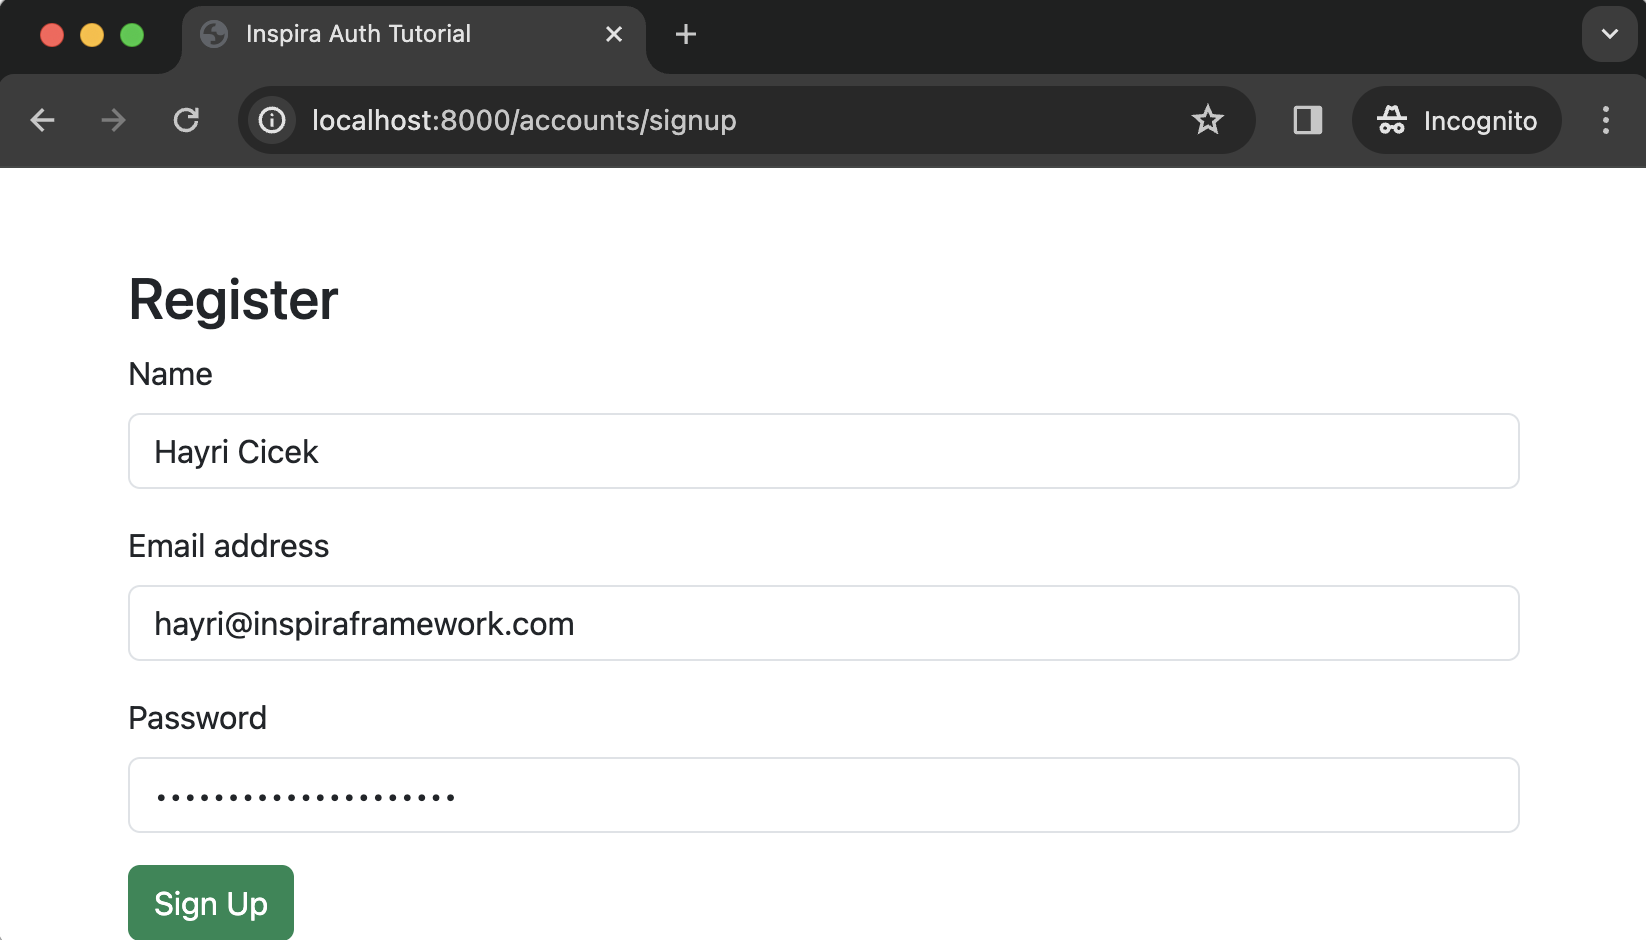
Sign Up
Enter your name, email, and password to register as a new user.
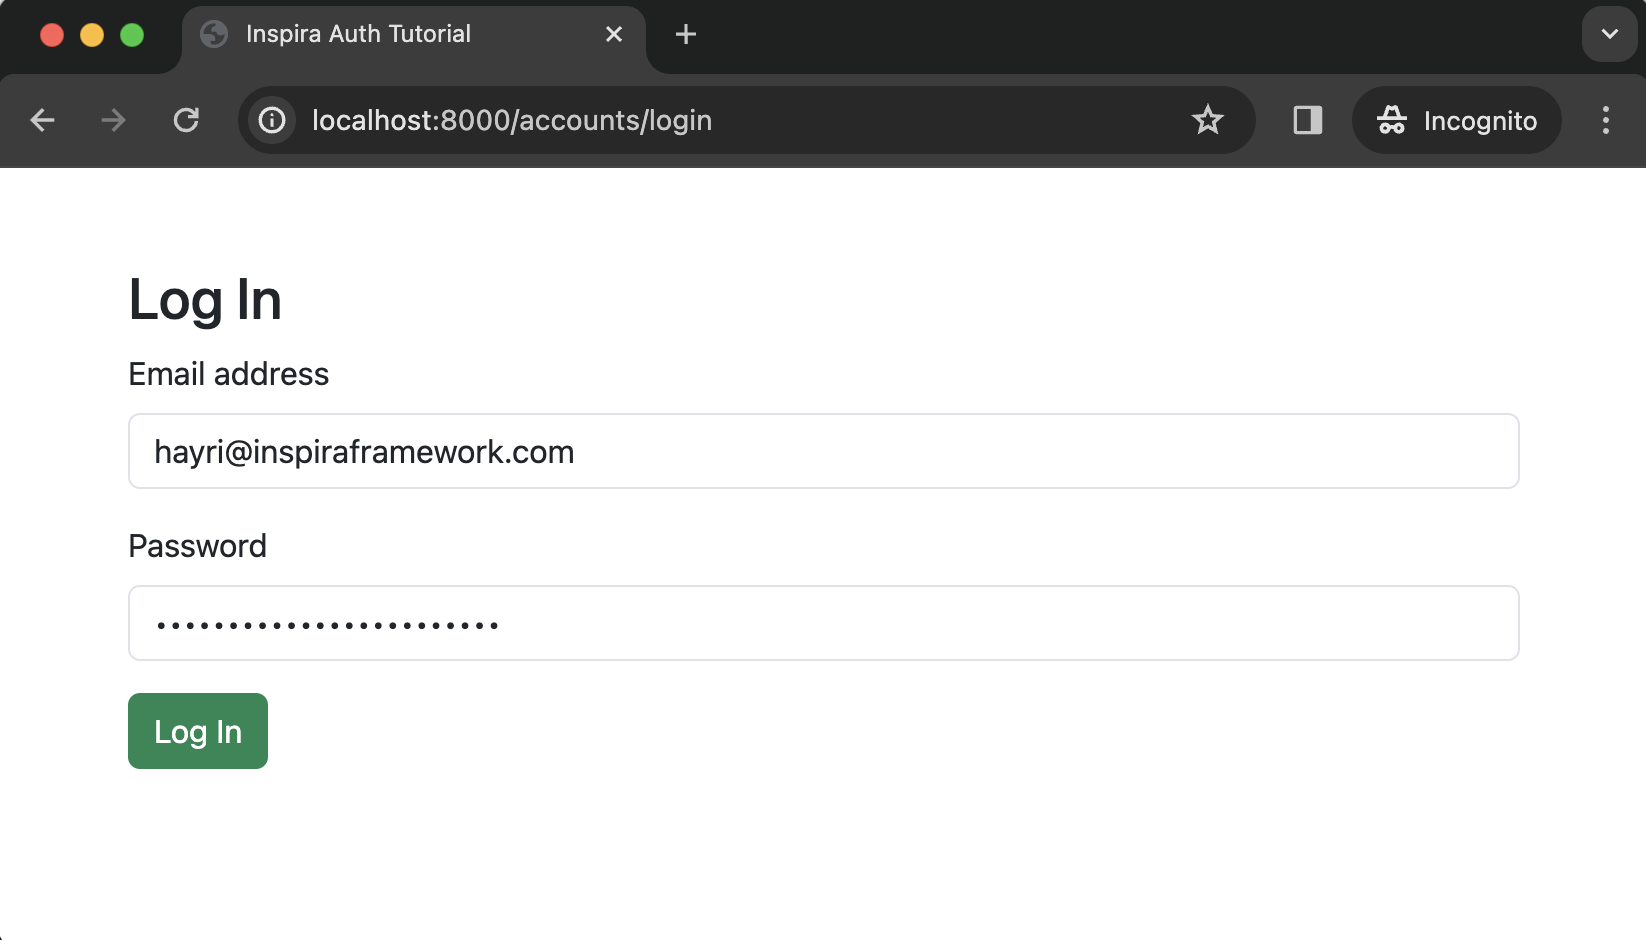
Logging In
Now, use the credentials of the newly registered user to log in.
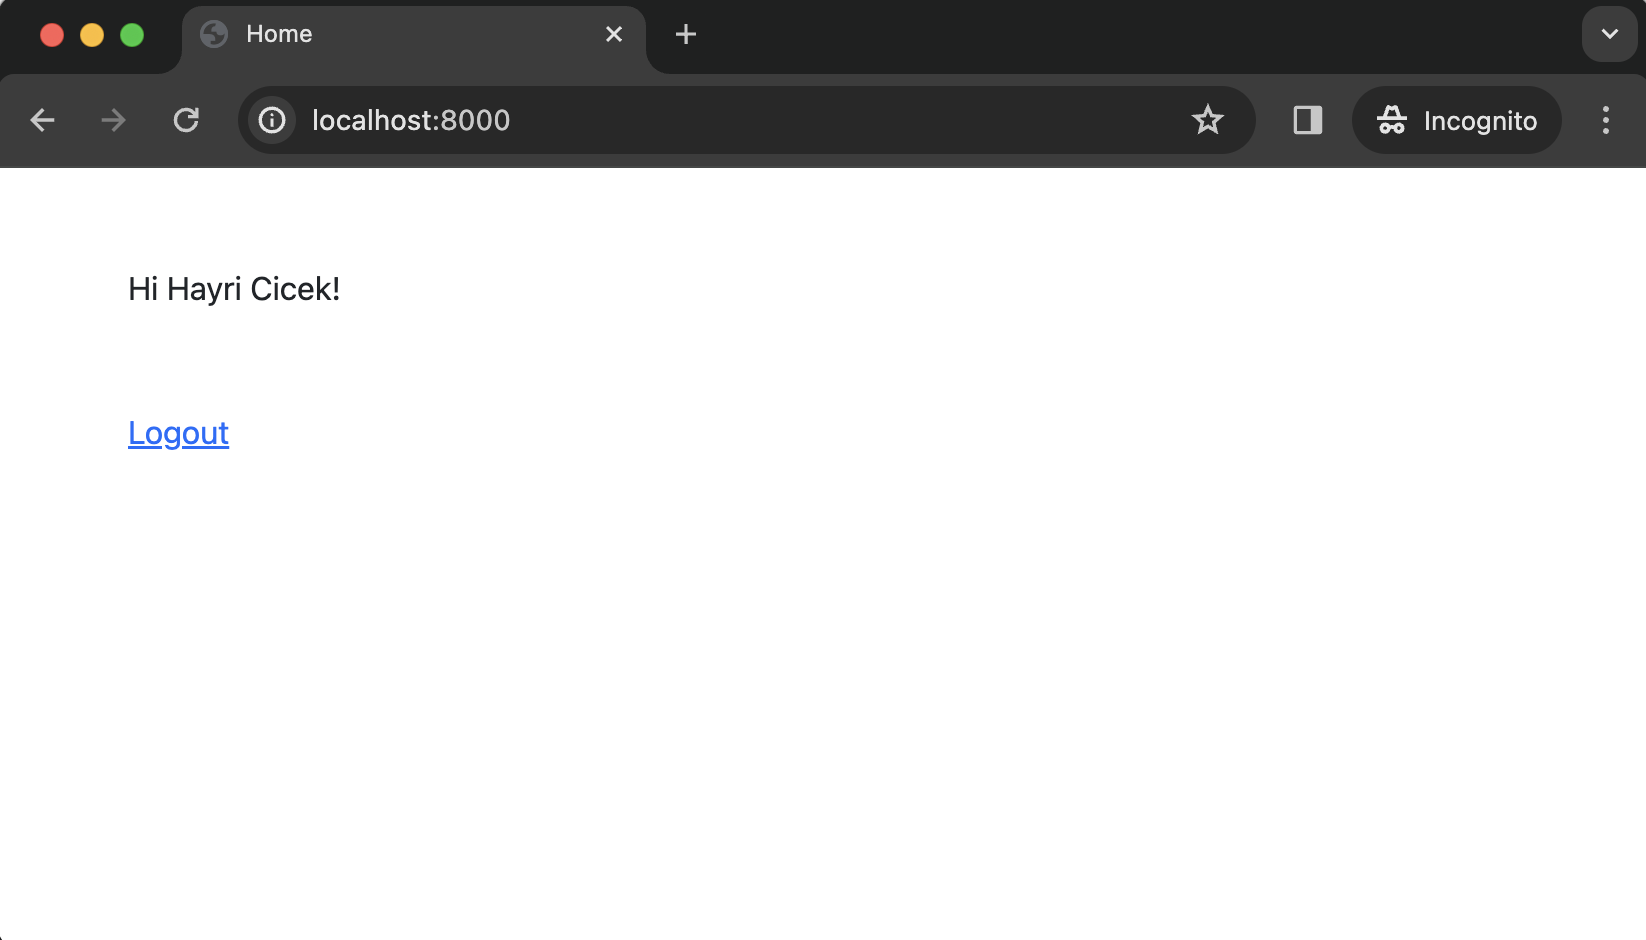
Successfully Logged In
You're now logged in as the user.
Summary
Great job! You've just used Inspira to set up user authentication for our web app. Now, users can easily log in, log out, and sign up.
The code is available on GitHub
Happy coding!