Token-Based Authentication With Inspira
In this guide you'll learn how to secure a Inspira application using JWT (JSON Web Tokens).
Getting Started
To begin, follow these commands to install Inspira and set up the project directories:
$ mkdir inspira-jwt
$ cd inspira-jwt
$ python -m venv .venv
$ source .venv/bin/activate
$ pip install inspira
$ inspira init
$ inspira new database --name mydb --type sqlite
Creating a Model
Create a new model named user by executing this command:
$ inspira new model user
Afterward, access the newly generated user model and make changes to the file as demonstrated below:
from inspira.auth.mixins.user_mixin import UserMixin
from sqlalchemy import Column, Integer, String
from database import Base


class User(Base, UserMixin):
    __tablename__ = "users"
    id = Column(Integer, primary_key=True)
    email = Column(String(255), unique=True, nullable=False)
    password = Column(String(255), nullable=False)
Creating User Repository
Generate the user repository using the following command:
$ inspira new repository user
Next, open the user_repository.py file and apply the following modifications:
from sqlalchemy.exc import SQLAlchemyError

from database import db_session
from src.model.user import User


class UserRepository:

    def get_all_user(self):
        return db_session.query(User).all()

    def get_user_by_id(self, user_id: int) -> User:
        return db_session.query(User).filter_by(id=user_id).first()

    def get_user_by_email(self, email: str) -> User:
        return db_session.query(User).filter_by(email=email).first()

    def create_user(self, user: User) -> bool:
        try:
            db_session.add(user)
            db_session.commit()
            return True
        except SQLAlchemyError as e:
            db_session.rollback()
            print(f"Error creating user: {e}")
            return False
get_all_users: Retrieve all users from the database.
get_user_by_id: Retrieve a single user by their ID.
get_user_by_email: Retrieve a single user by their email address.
create_user: Save a new user in the database.
Creating User Service
Generate the user service with the command:
$ inspira new service user
Now, open the user_service.py file and update it to match the following:
from src.model.user import User
from src.repository.user_repository import UserRepository


class UserService:
    def __init__(self, user_repository: UserRepository):
        self._user_repository = user_repository

    def get_all_user(self):
        return self._user_repository.get_all_user()

    def get_user_by_id(self, id: int) -> User:
        return self._user_repository.get_user_by_id(id)

    def get_user_by_email(self, email) -> User:
        return self._user_repository.get_user_by_email(email)

    def create_user(self, name: str, email: str, password: str) -> bool:
        new_user = User()
        new_user.name = name
        new_user.email = email
        new_user.set_password(password)

        return self._user_repository.create_user(new_user)
get_all_users:
Retrieve all users from the database.get_user_by_id:
Retrieve a single user by their ID.get_user_by_email:
Retrieve a single user by their email address.create_user:
Create a new user.
The UserService and UserRepository classes are vital for overseeing user-related operations in the application.
The UserService encapsulates and coordinates user-related business logic, interacting with the UserRepository to handle the underlying data storage and retrieval tasks.
This clear separation of concerns improves code modularity, maintainability, and testability in the application.
Creating Controller
Generate a new controller named user using the following command:
$ inspira new controller user
Now, open the user_controller.py file and structure it as illustrated below:
from inspira.auth.auth_utils import encode_auth_token, decode_auth_token
from inspira.decorators.http_methods import get, post
from inspira.decorators.path import path
from inspira.responses import JsonResponse
from inspira.requests import Request

from src.service.user_service import UserService


@path("/users")
class UserController:

    def __init__(self, user_service: UserService):
        self._user_service = user_service

    @get("/{id}")
    async def get_user(self, request: Request, id: int):
        auth_header = request.get_headers().get('authorization', '')
        auth_token = auth_header.split(" ")[1] if auth_header else ''

        if auth_token:
            decoded_data = decode_auth_token(auth_token)
            if decoded_data == id:
                user = self._user_service.get_user_by_id(decoded_data)
                context = {
                    "id": user.id,
                    "email": user.email
                }
                return JsonResponse(context)

        context = {
            'status': 'fail',
            'message': 'Provide a valid auth token.'
        }

        return JsonResponse(context, status_code=401)

    @post("/register")
    async def register_user(self, request: Request):
        body = await request.json()
        name = body['name']
        email = body['email']
        password = body['password']
        user = self._user_service.get_user_by_email(email)

        if not user:
            success = self._user_service.create_user(name, email, password)

            if success:
                return JsonResponse({"message": "User successfully registered."})
            else:
                return JsonResponse({"message": "Failed to register user"}, status_code=401)
        else:
            return JsonResponse({"message": "User already exists."})

    @post("/login")
    async def login(self, request: Request):
        body = await request.json()
        email = body['email']
        password = body['password']

        user = self._user_service.get_user_by_email(email)

        if user:
            if user.check_password_hash(password):
                auth_token = encode_auth_token(user.id)

                context = {
                    'auth_token': auth_token
                }

                return JsonResponse(context)
            else:
                return JsonResponse({"message": "Failed to login user"}, status_code=401)
        else:
            return JsonResponse({"message": "User not found"}, status_code=401)
get_user:
Retrieves user information based on the provided user ID.register:
Handles the registration of a new user.login:
Manages the user login process.
Migrations
To initiate the creation of the users table, execute the following command to generate a migration file:
$ inspira new migration create_users_table
This command will create the migration file in the migrations folder.
Open the file and make the necessary modifications as shown below:
CREATE TABLE users (
    id INTEGER NOT NULL,
    email VARCHAR(255) NOT NULL,
    password VARCHAR(255) NOT NULL,
    PRIMARY KEY (id),
    UNIQUE (email)
);
To apply the migration and create the user table, run the following command:
$ inspira migrate
Launching the Server
Start the server using the following command:
$ uvicorn main:app --reload
Postman
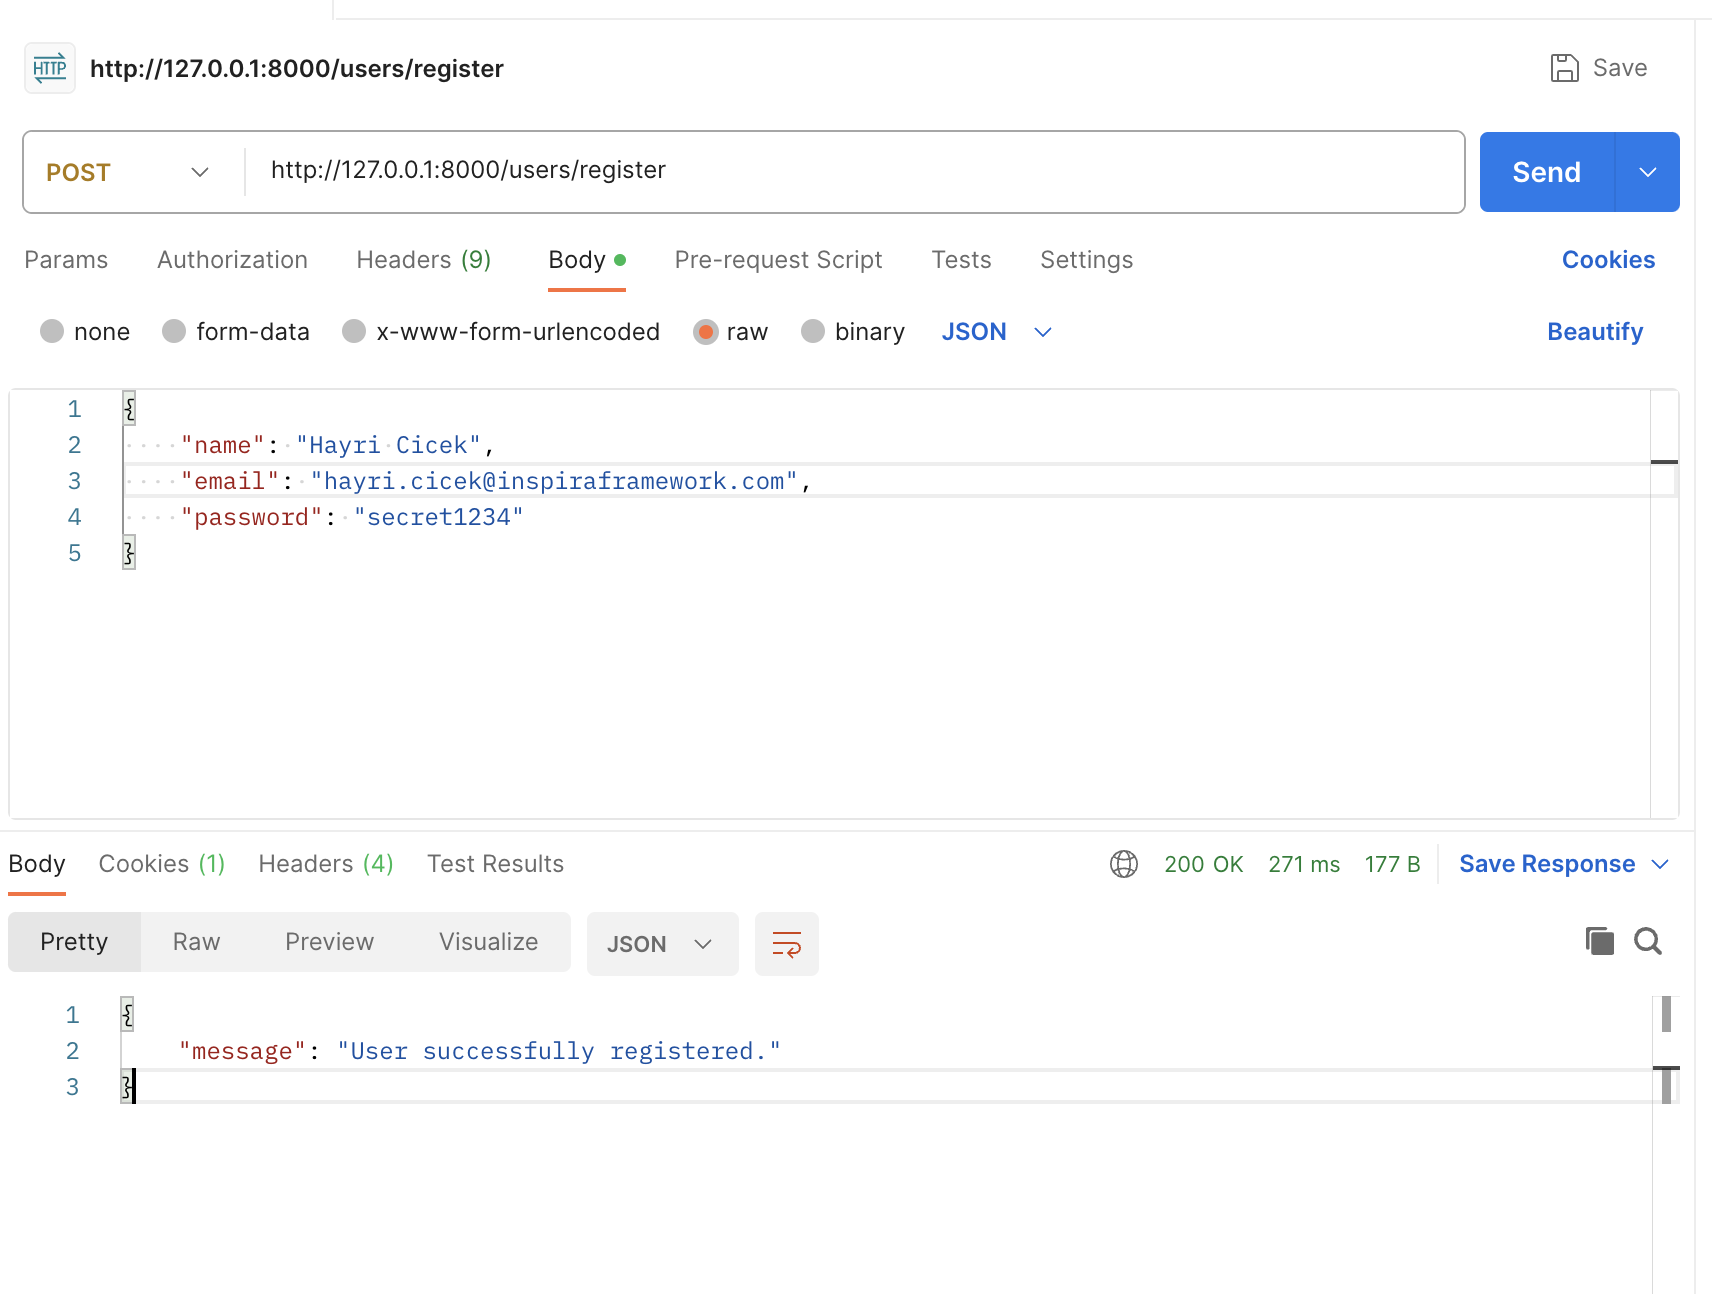
Register User:
Make a POST request to http://127.0.0.1:8000/users/register in Postman.
Use the following payload:
{
    "name": "Hayri Cicek",
    "email": "hayri.cicek@inspiraframework.com",
    "password": "secret1234"
}
Login and Retrieve Auth Token:
Make another POST request to http://127.0.0.1:8000/users/login with the following payload:
{
    "email": "hayri.cicek@inspiraframework.com",
    "password": "secret1234"
}
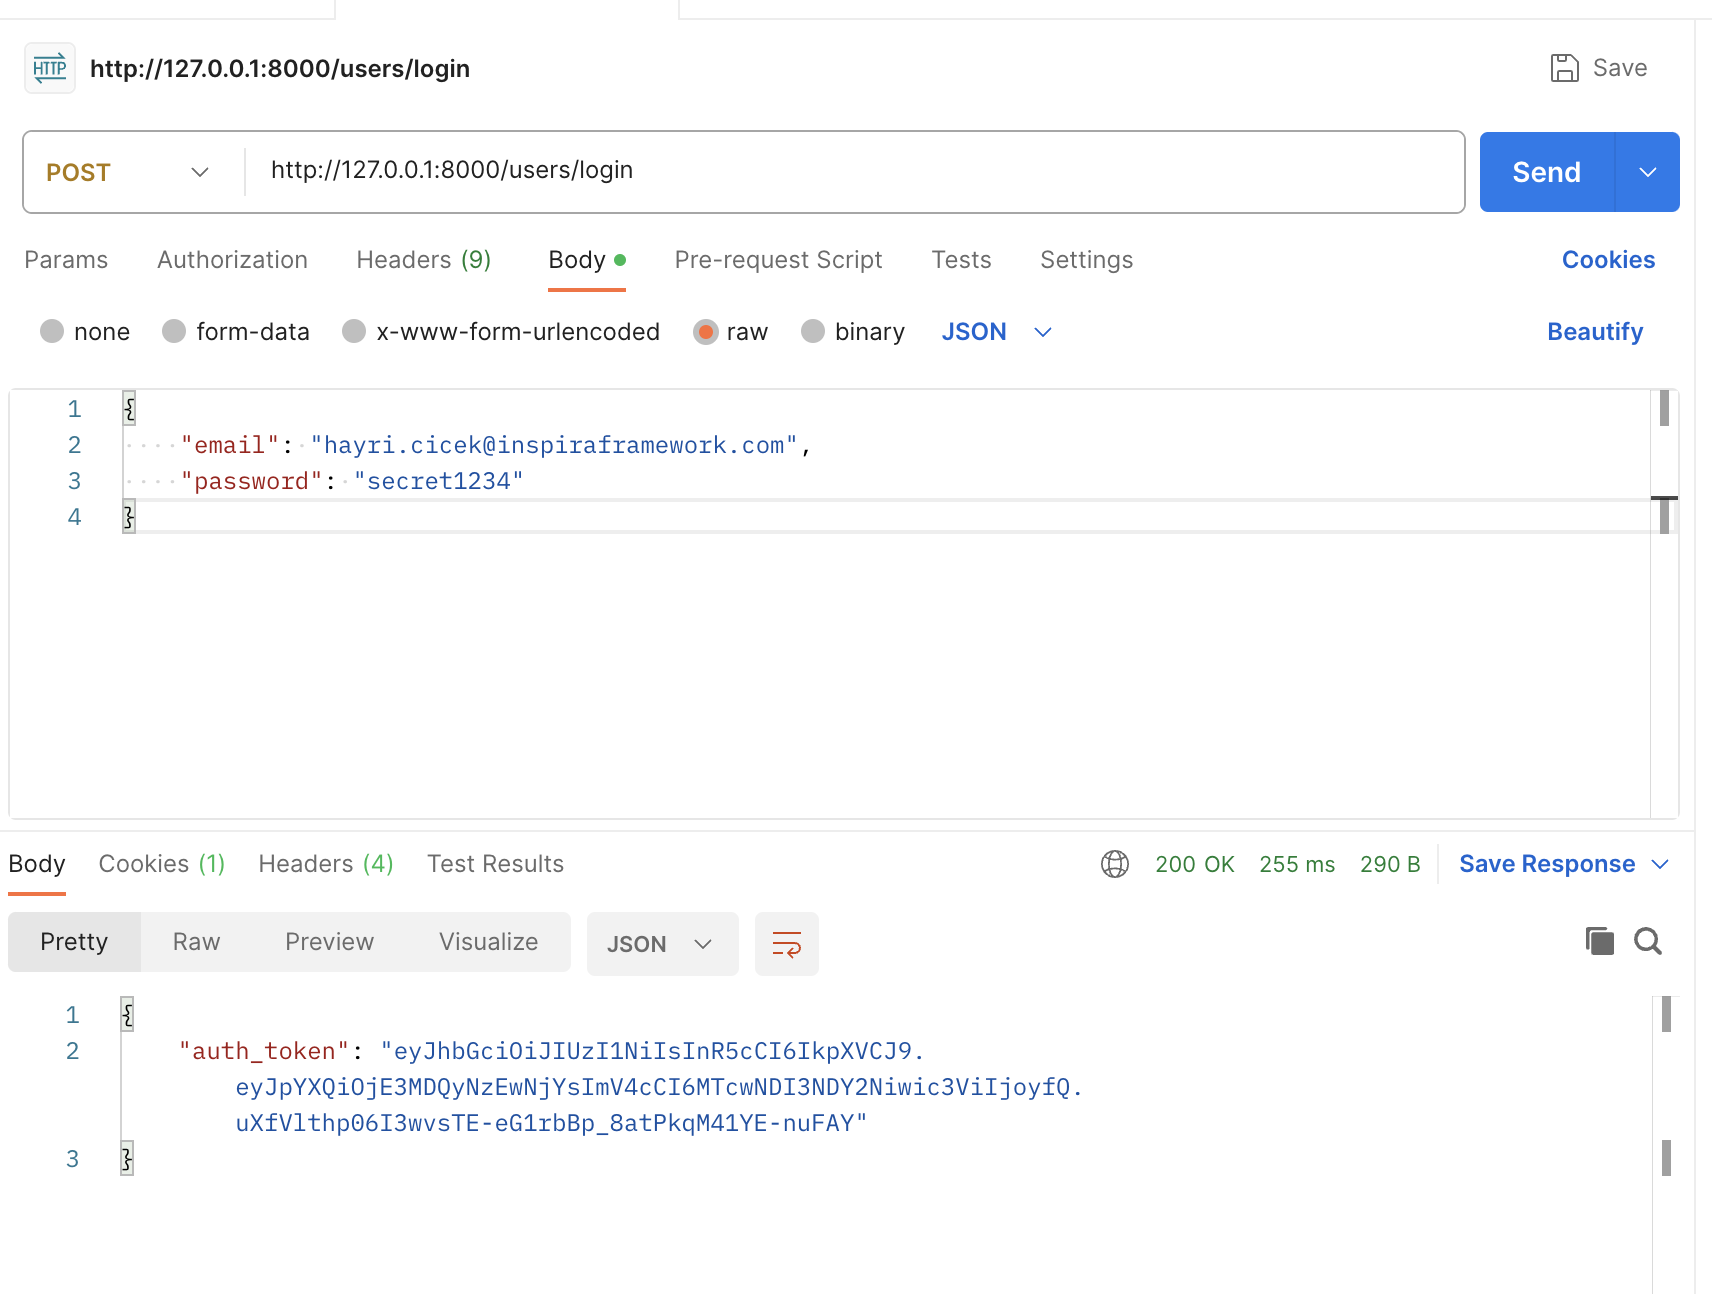
- Copy the token
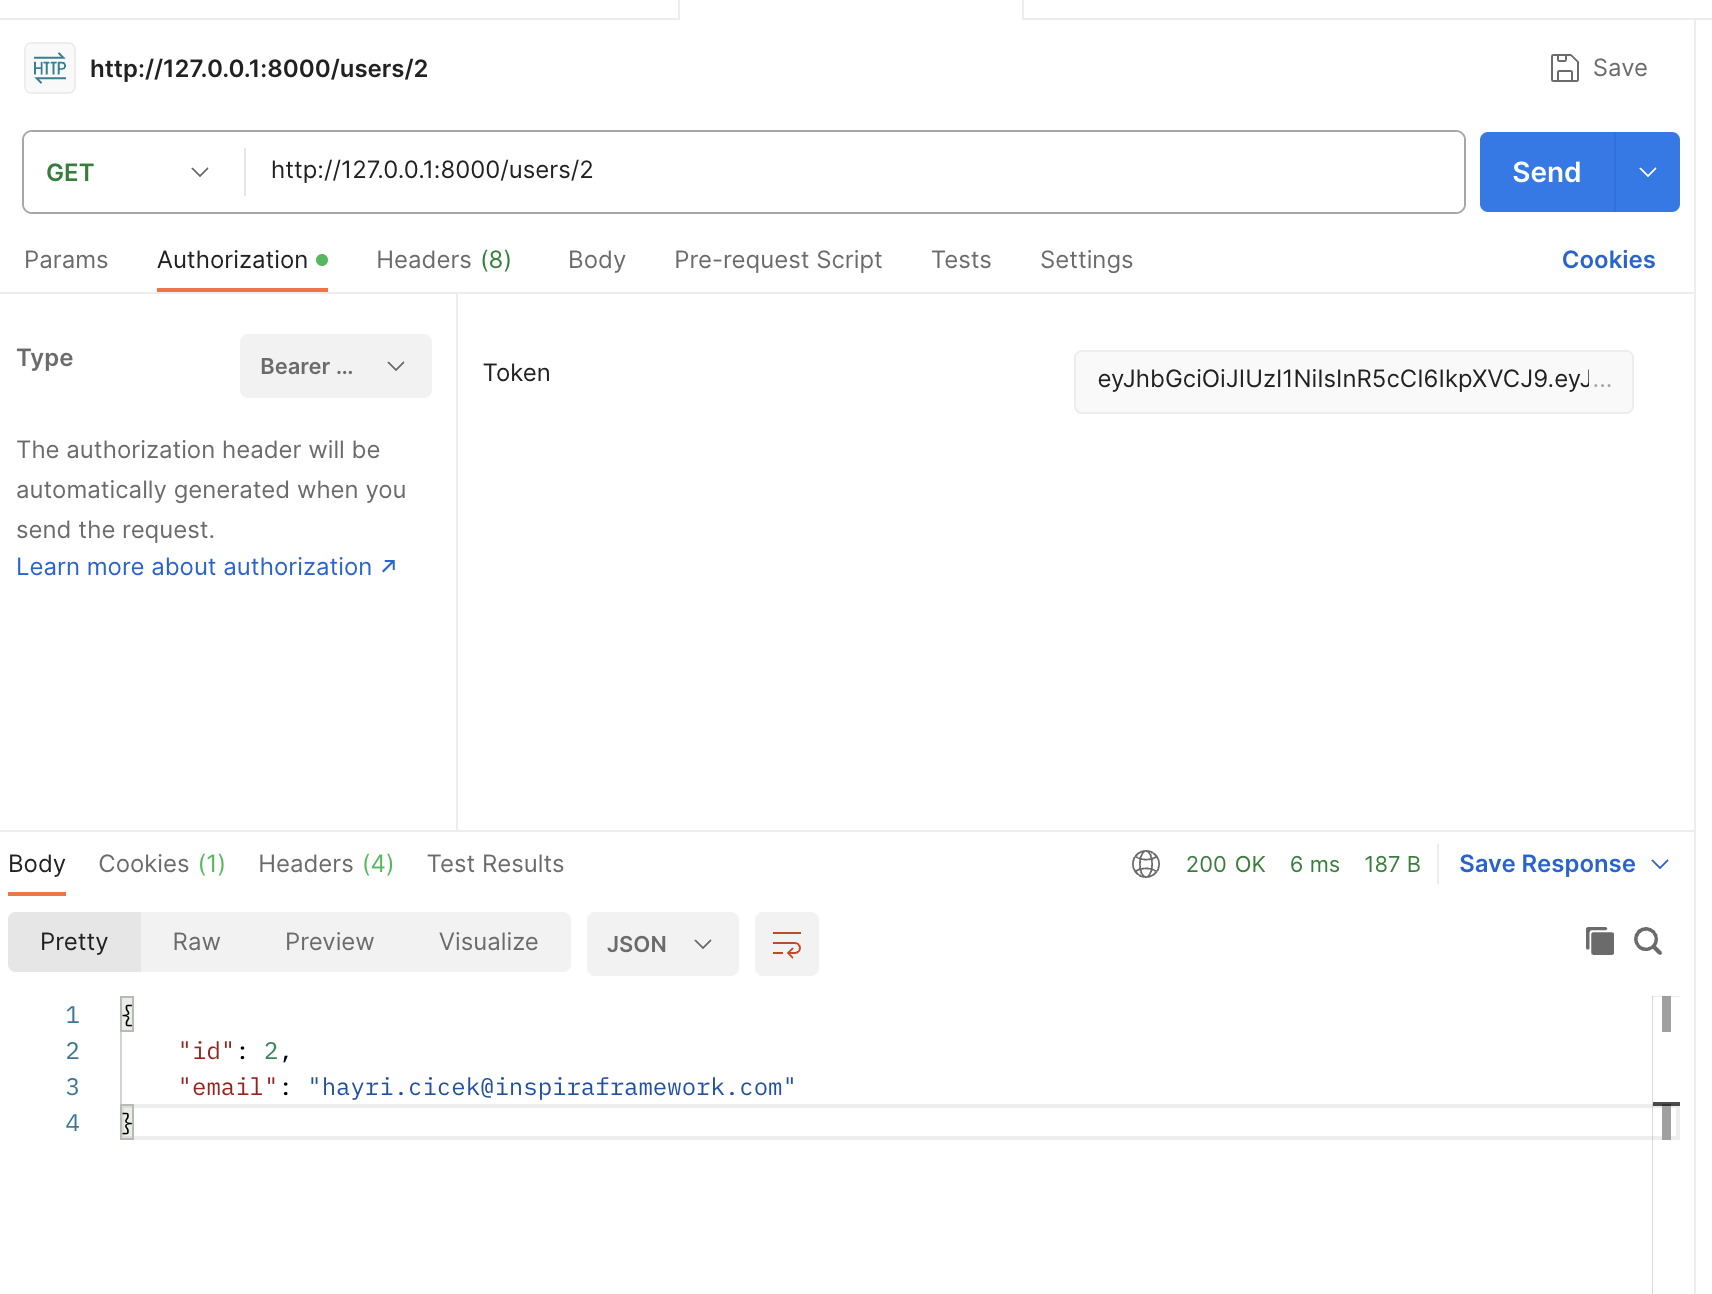
Retrieve User Information:
Make a GET request to http://127.0.0.1:8000/users/2 to retrieve user information.
In the Authorization tab, select Bearer type, paste the copied token, and send the request.
If everything works, you should see the user information.
Conclusion
In this tutorial, we went through the process of adding authentication to Inspira application with JWT.
The code is available on GitHub
Happy coding!